


Install older versions of Python using Miniconda on Mac M1
Install older versions of Python using Miniconda on a Mac with M1 processor.


Lots of the people who are using Mac with M1 processor are struggling to install Python's older versions(Ex: 3.6 and 3.7) on their machine. In this article, we are going to see how we can install Python's older versions on a Mac with M1 processor.
Install home brew at /usr/local/bin:
To install older Python versions, the home brew should be installed at
/usr/local/bin directory.
Follow the below steps to install the home brew at /usr/local/bin.
- Open finder -> click on Applications.
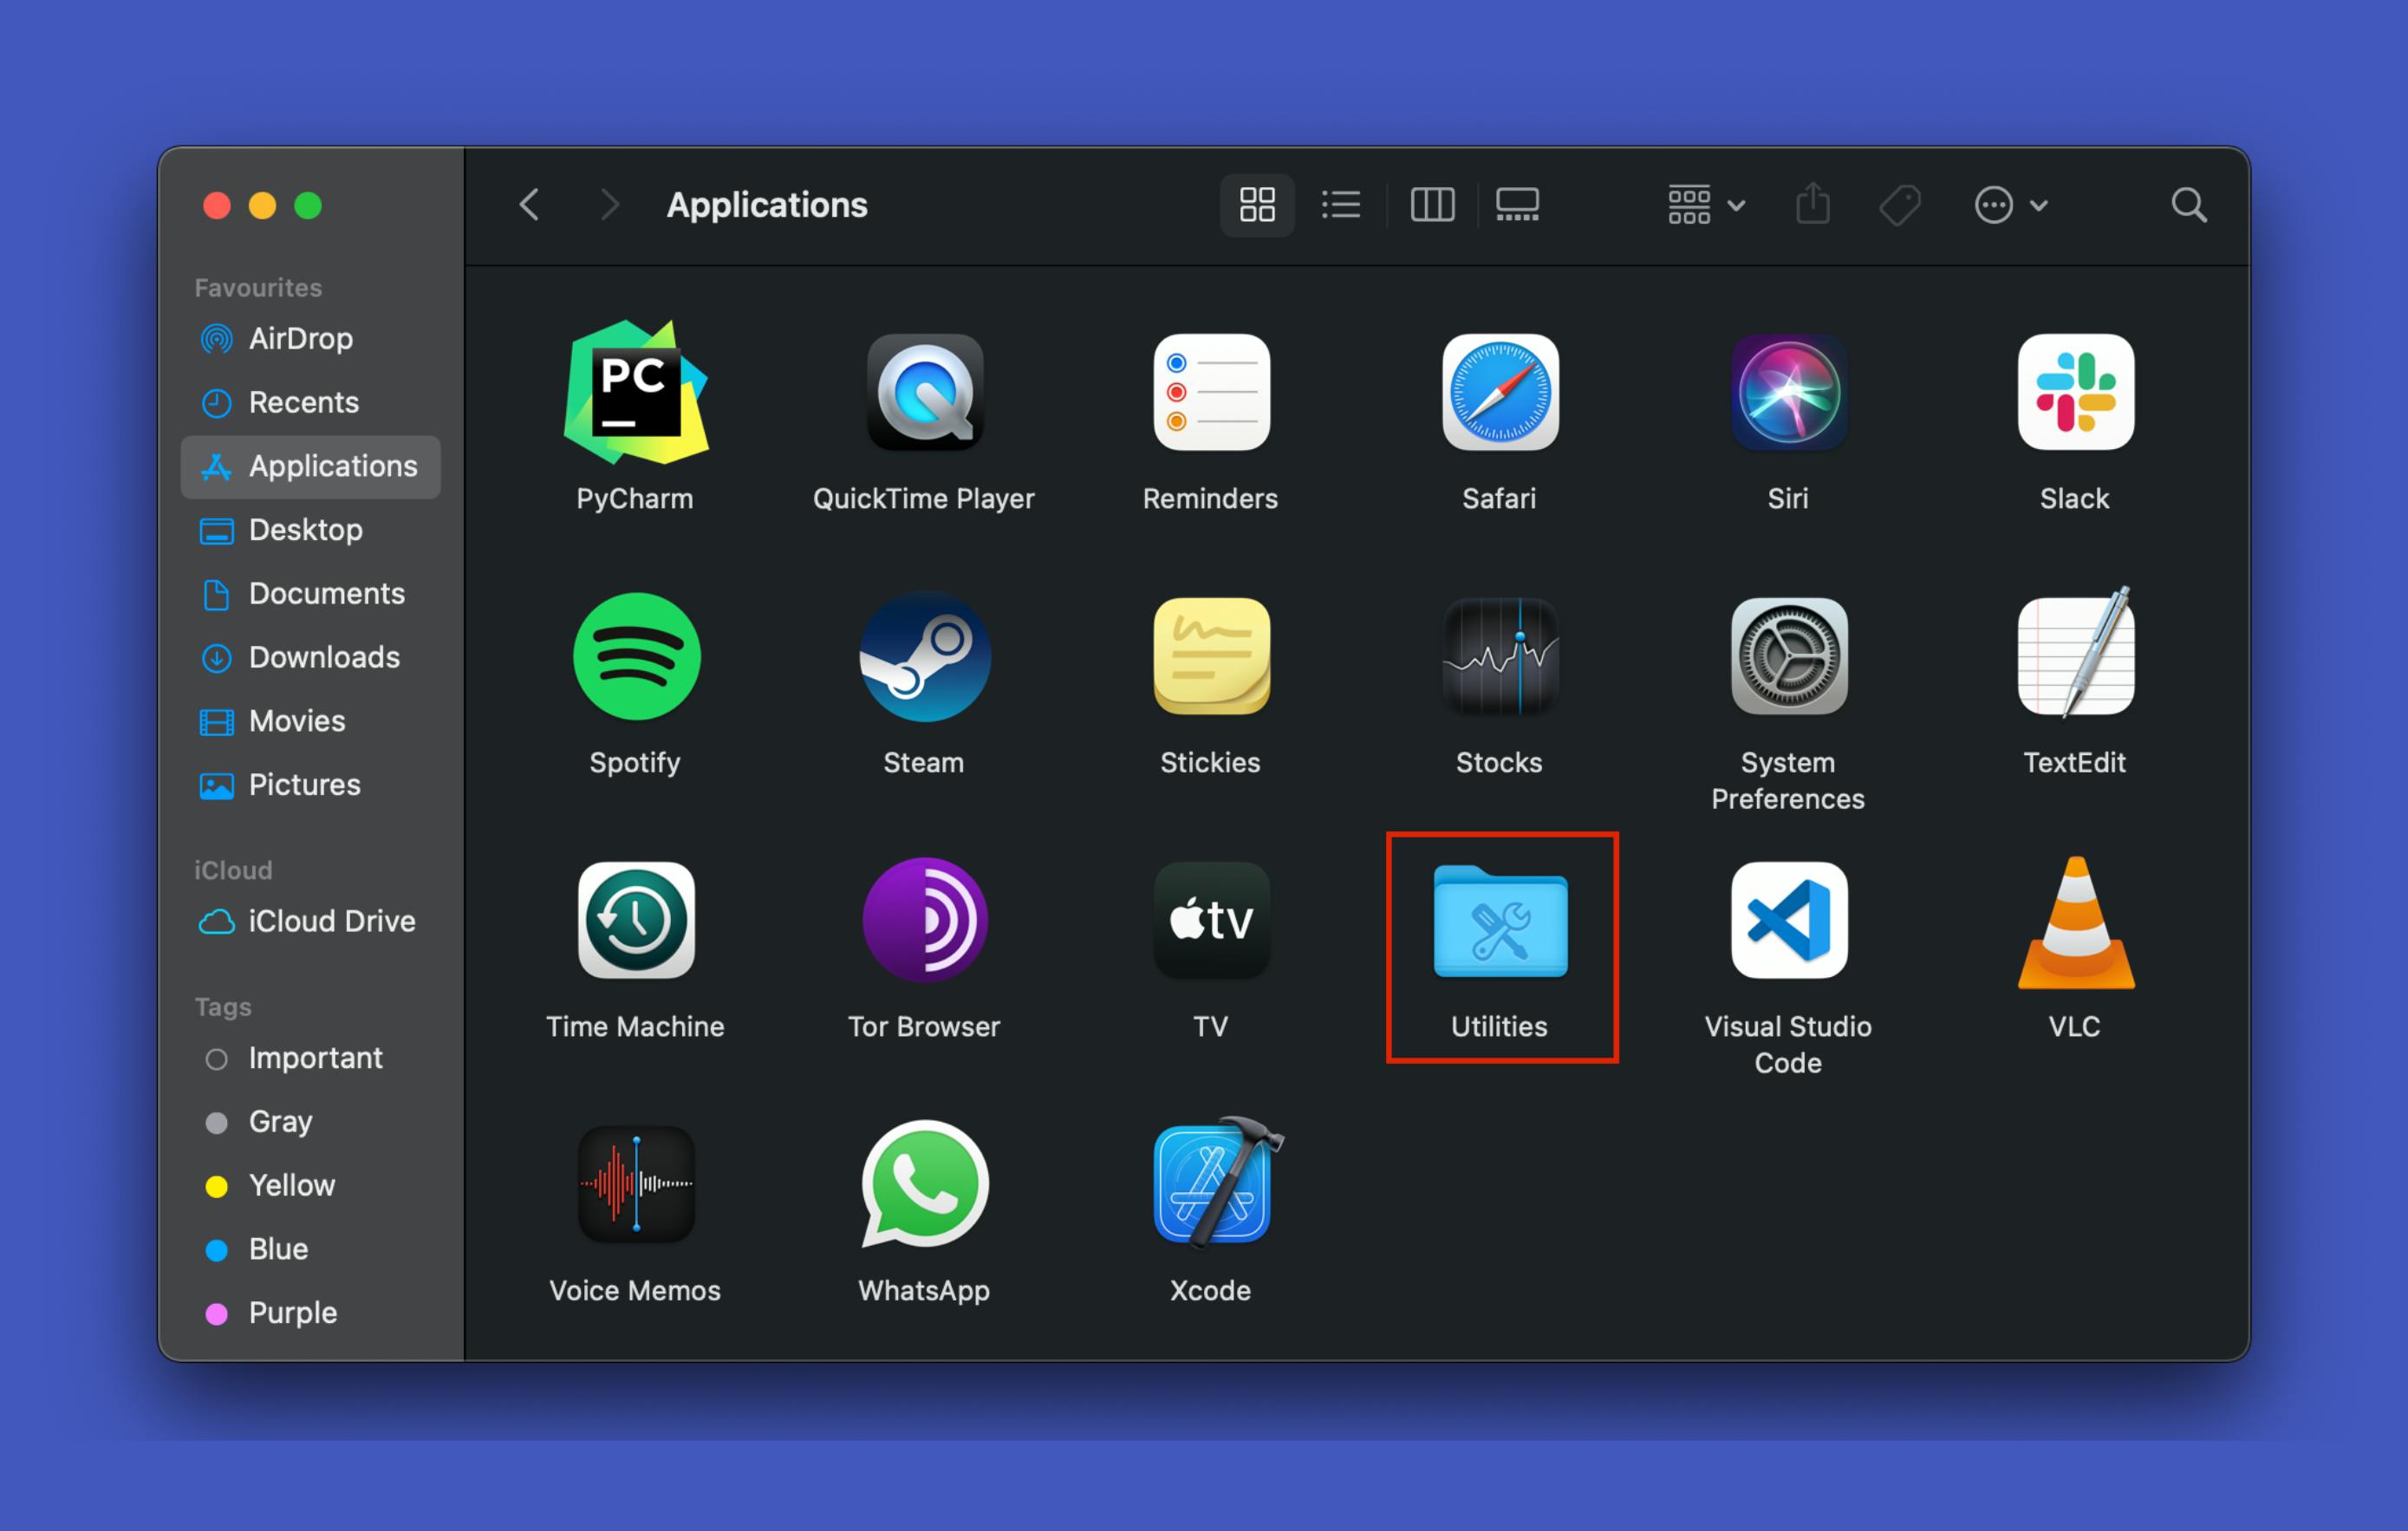
- Double click on Utilities.
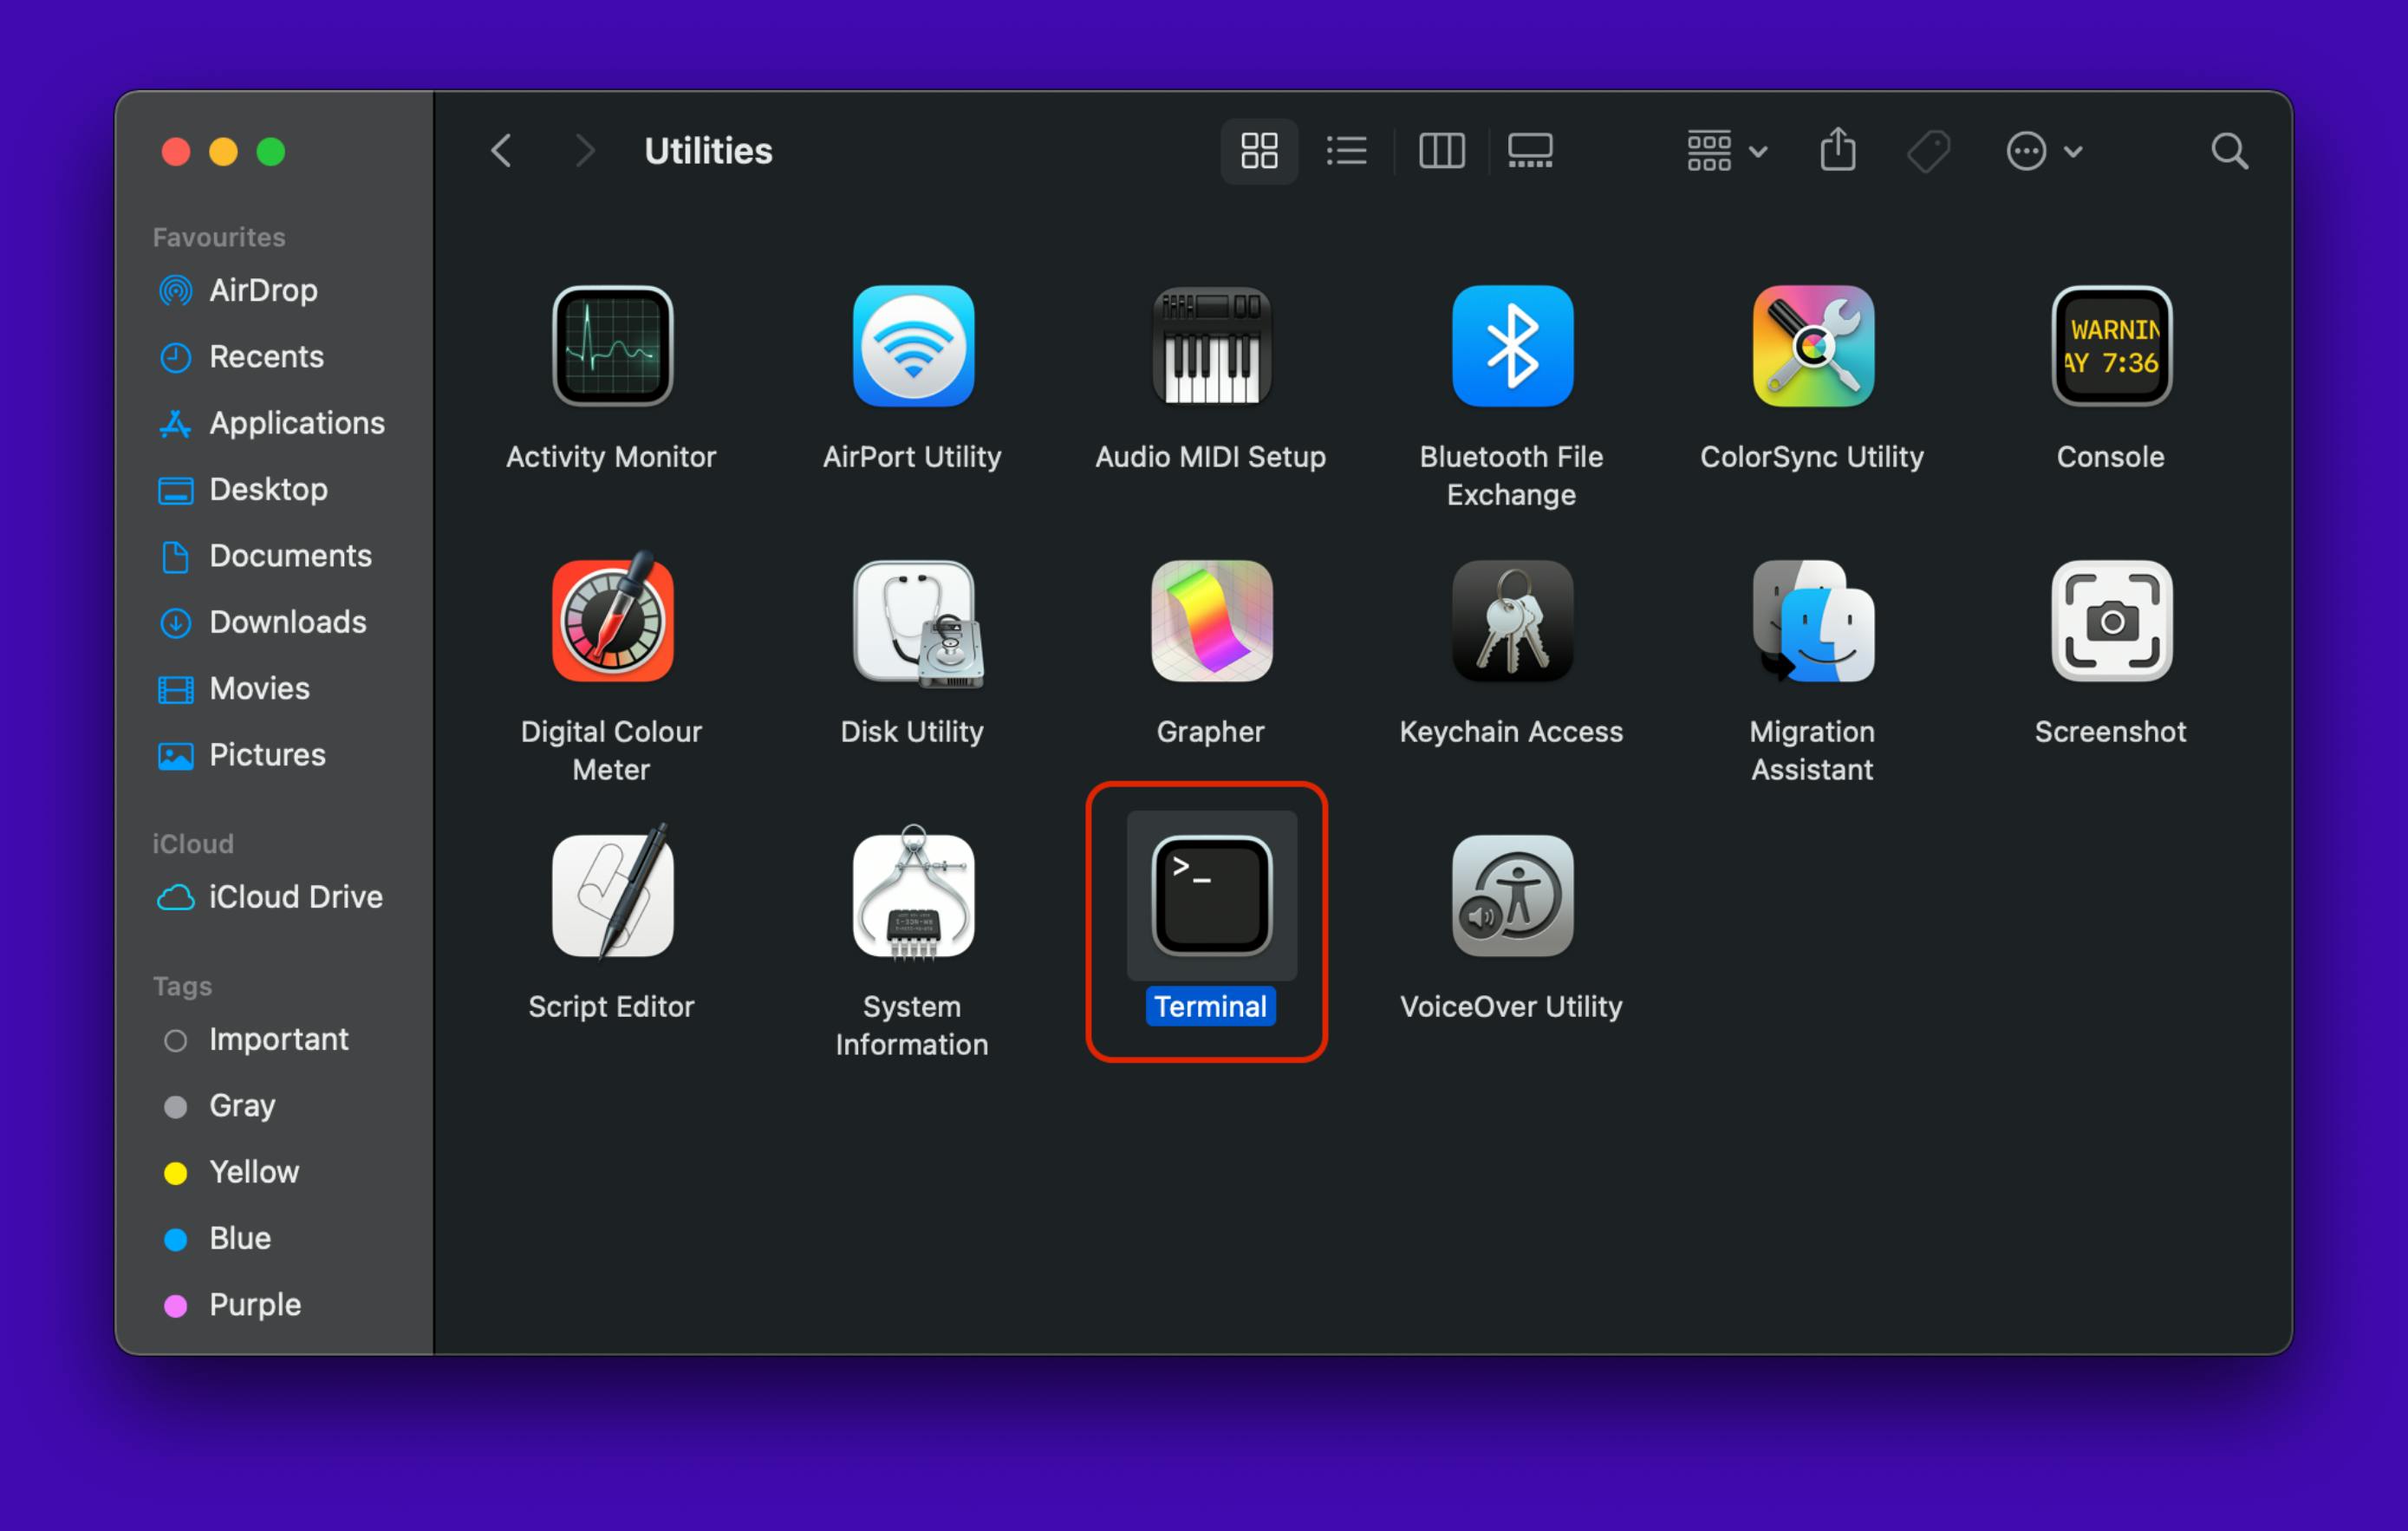
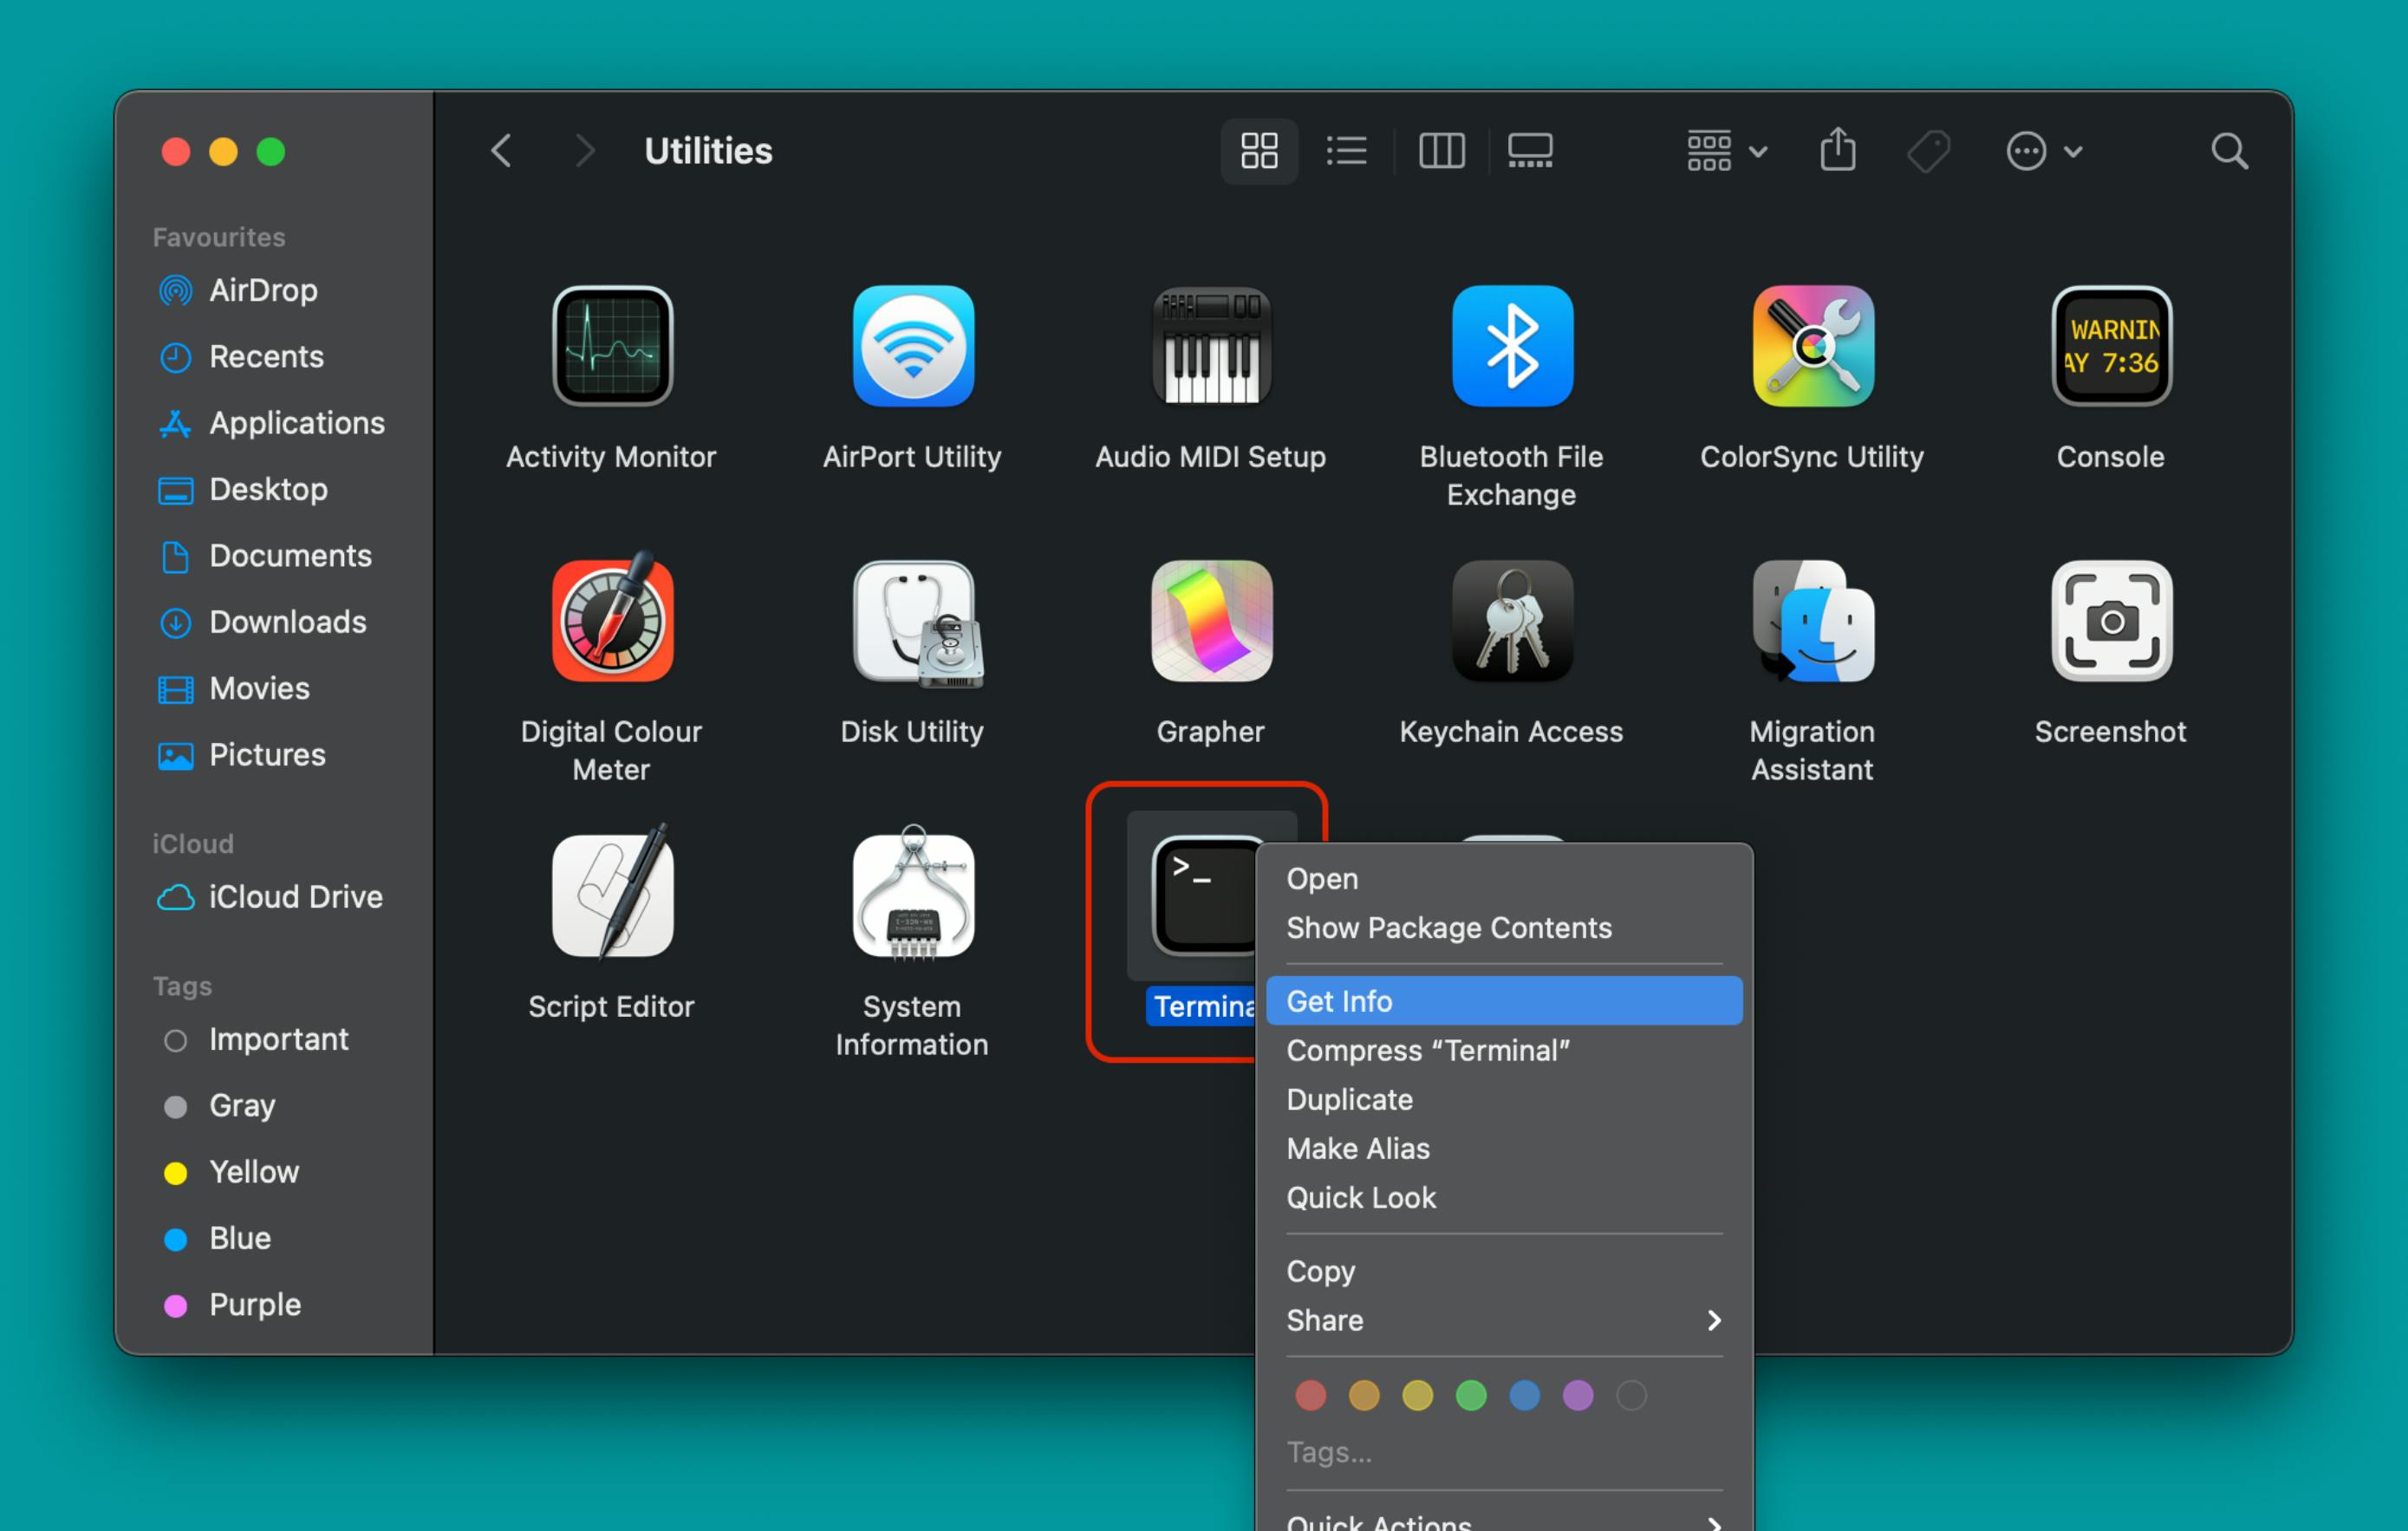
- Right click on Terminal -> and select Get info from the options.
- Select the Open using Rosetta check box.
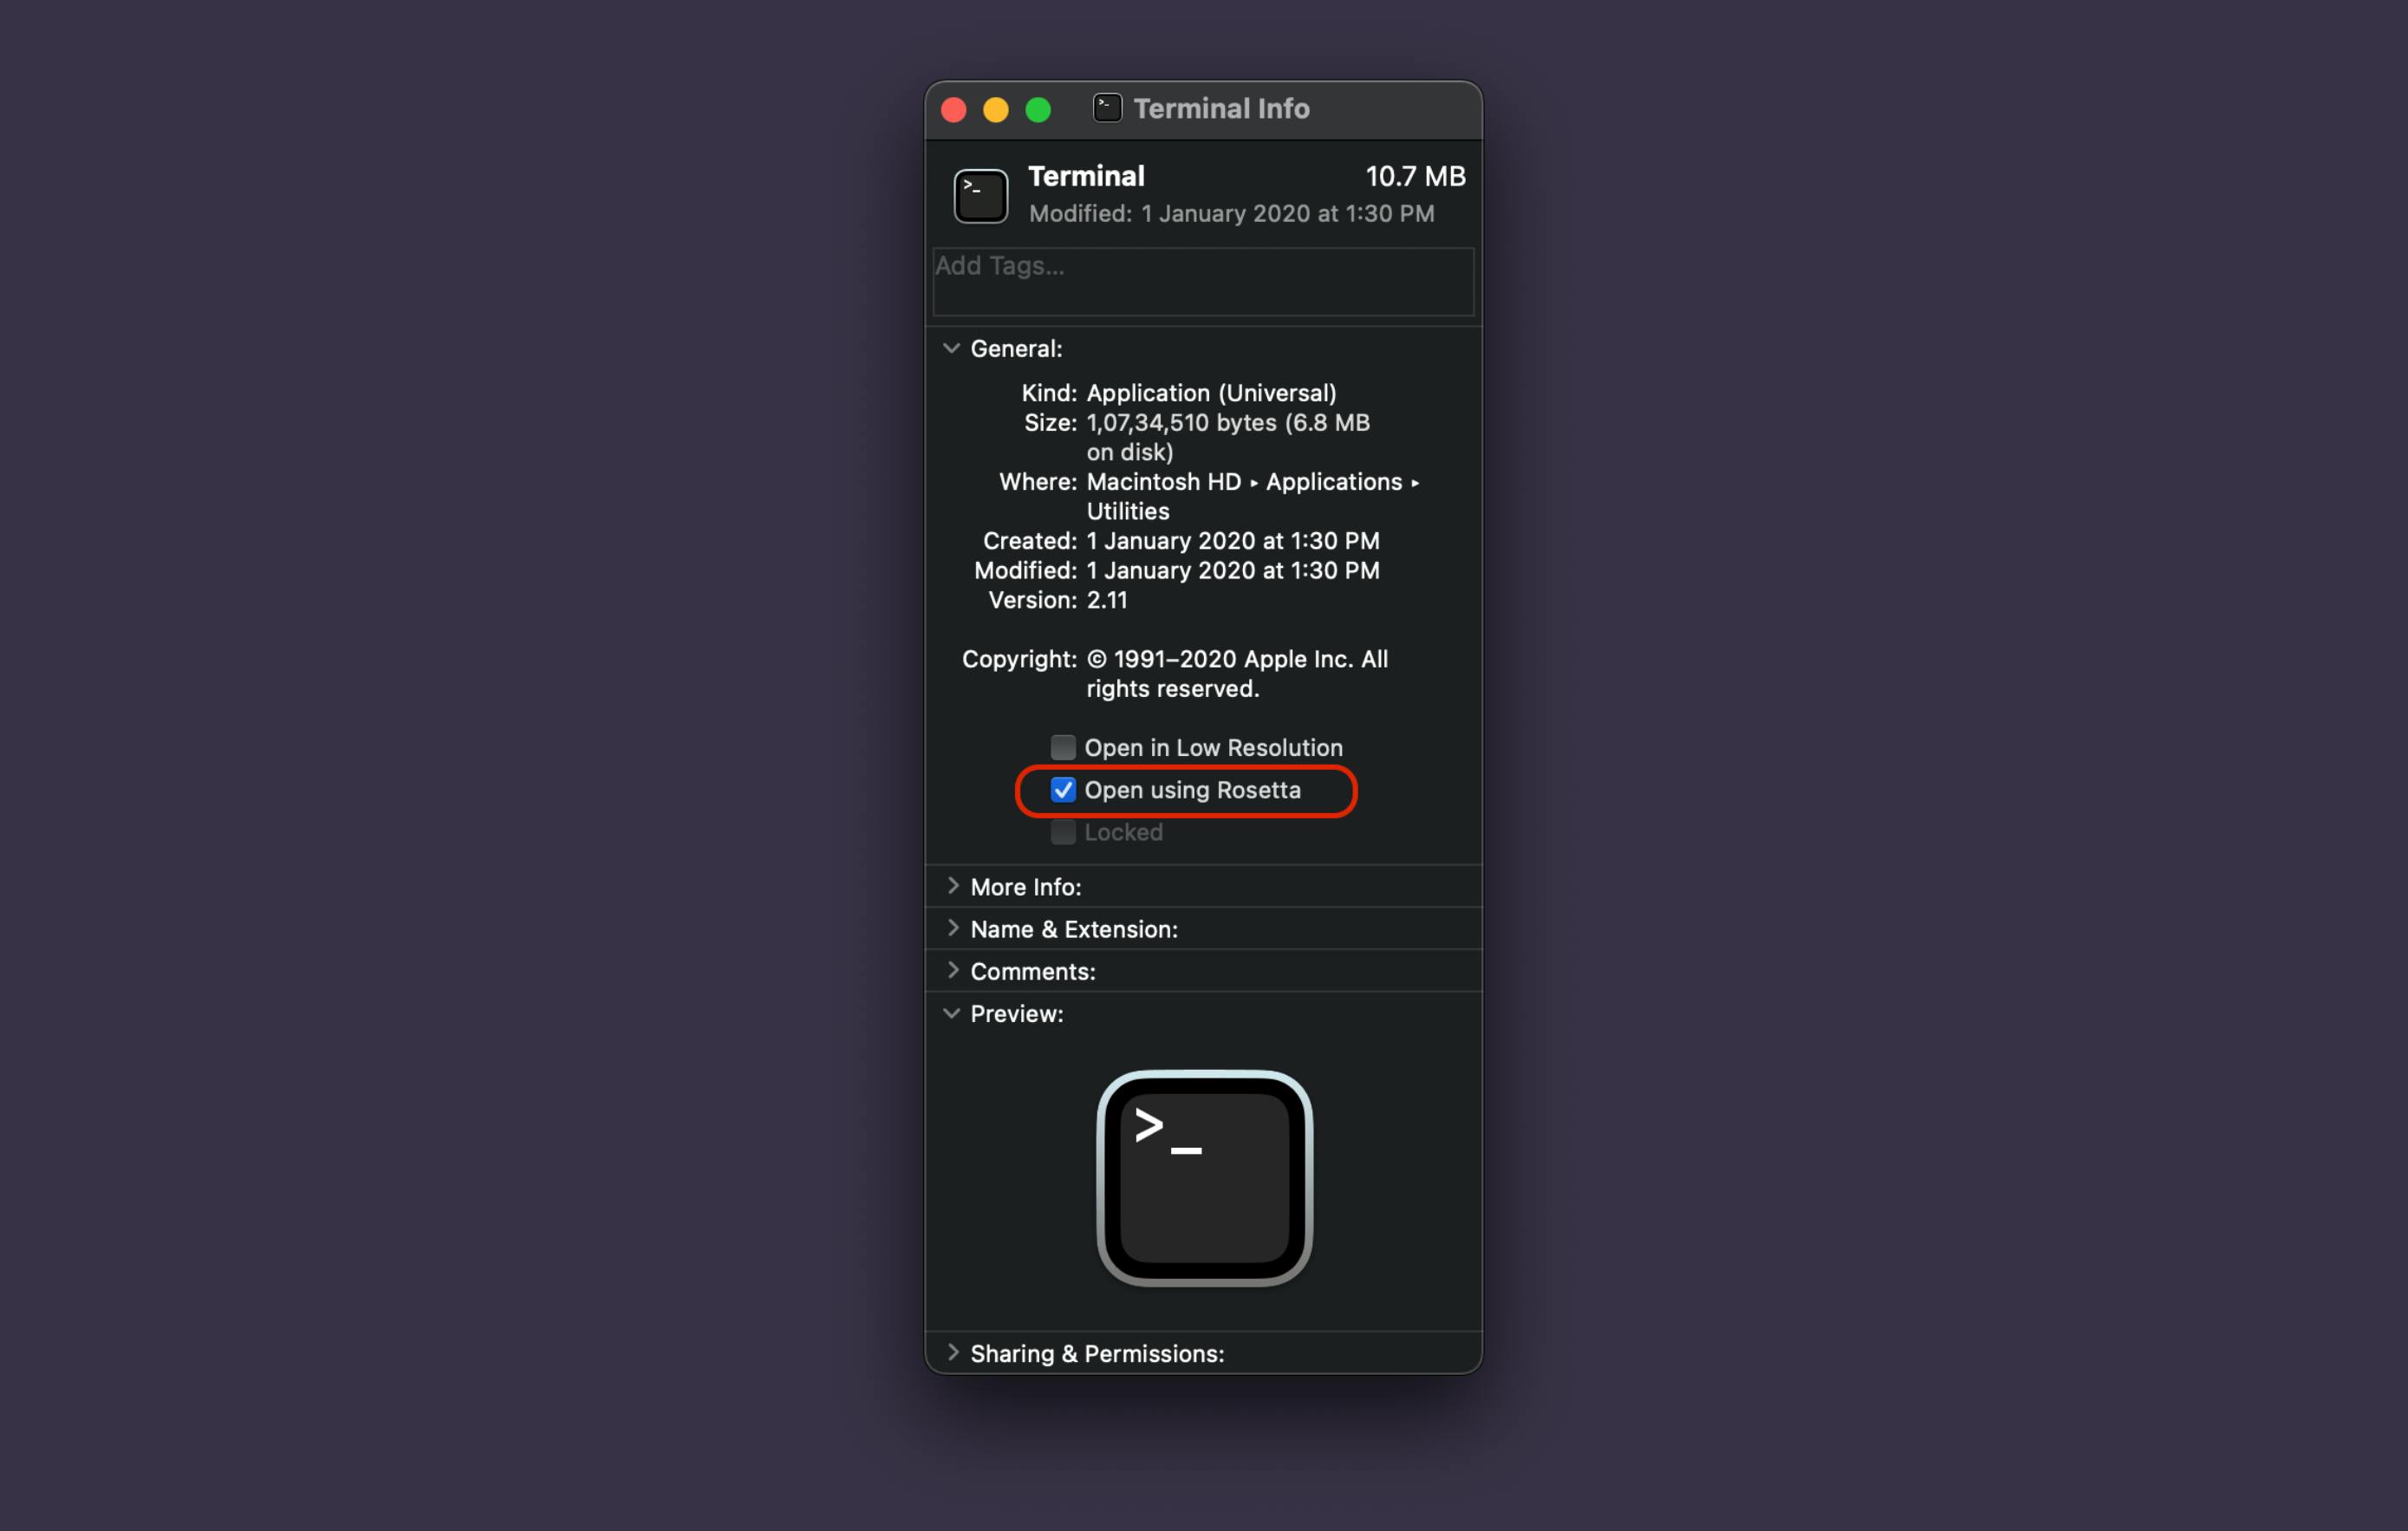
Close the window. Open Terminal and run the below command to install home brew.
/bin/bash -c "$(curl -fsSL https://raw.githubusercontent.com/Homebrew/install/HEAD/install.sh)"
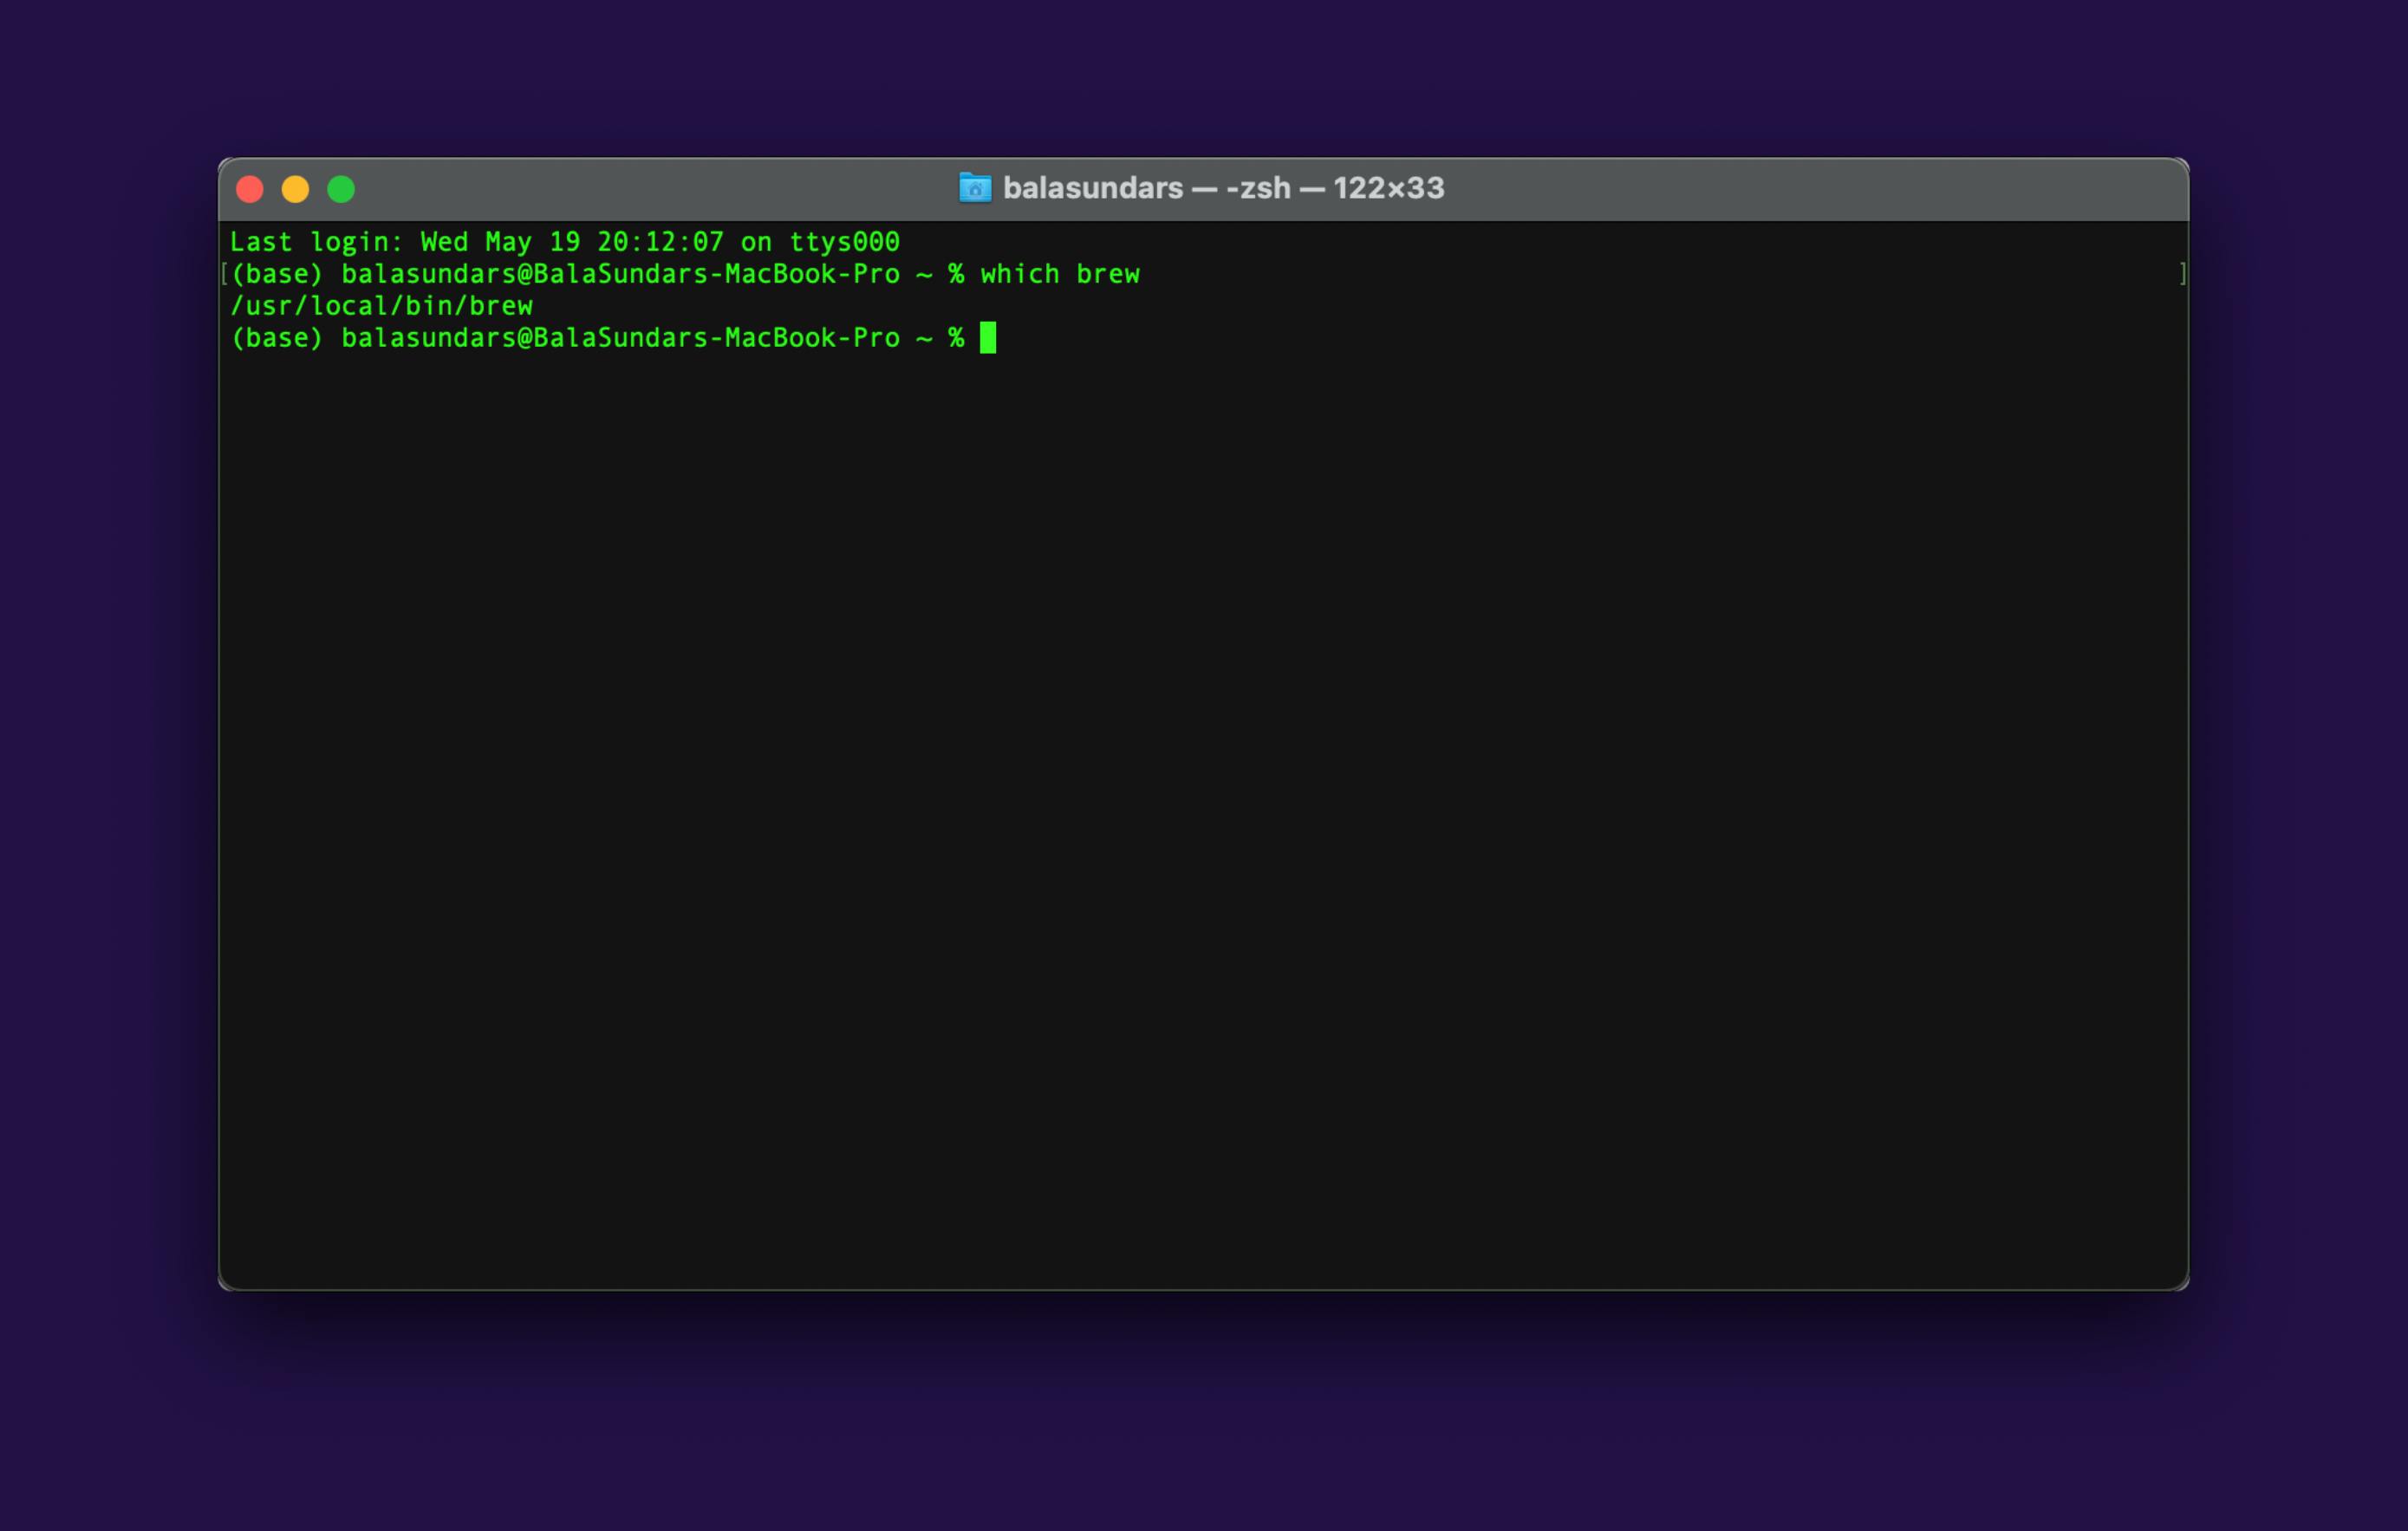
We can verify the installation directory by using which command
which brew
Install Miniconda:
Miniconda is a free minimal installer for conda. It is a small, bootstrap version of Anaconda that includes only conda, Python, the packages they depend on, and a small number of other useful packages, including pip, zlib and a few others.
Download miniconda from their official website. There are two options to download Miniconda. One is downloading as a bash(.sh) file and another way is download as a package(.pkg) file.
Here we are going to install Miniconda package file. Go to the Downloads folder and double click on the downloaded Miniconda package file.
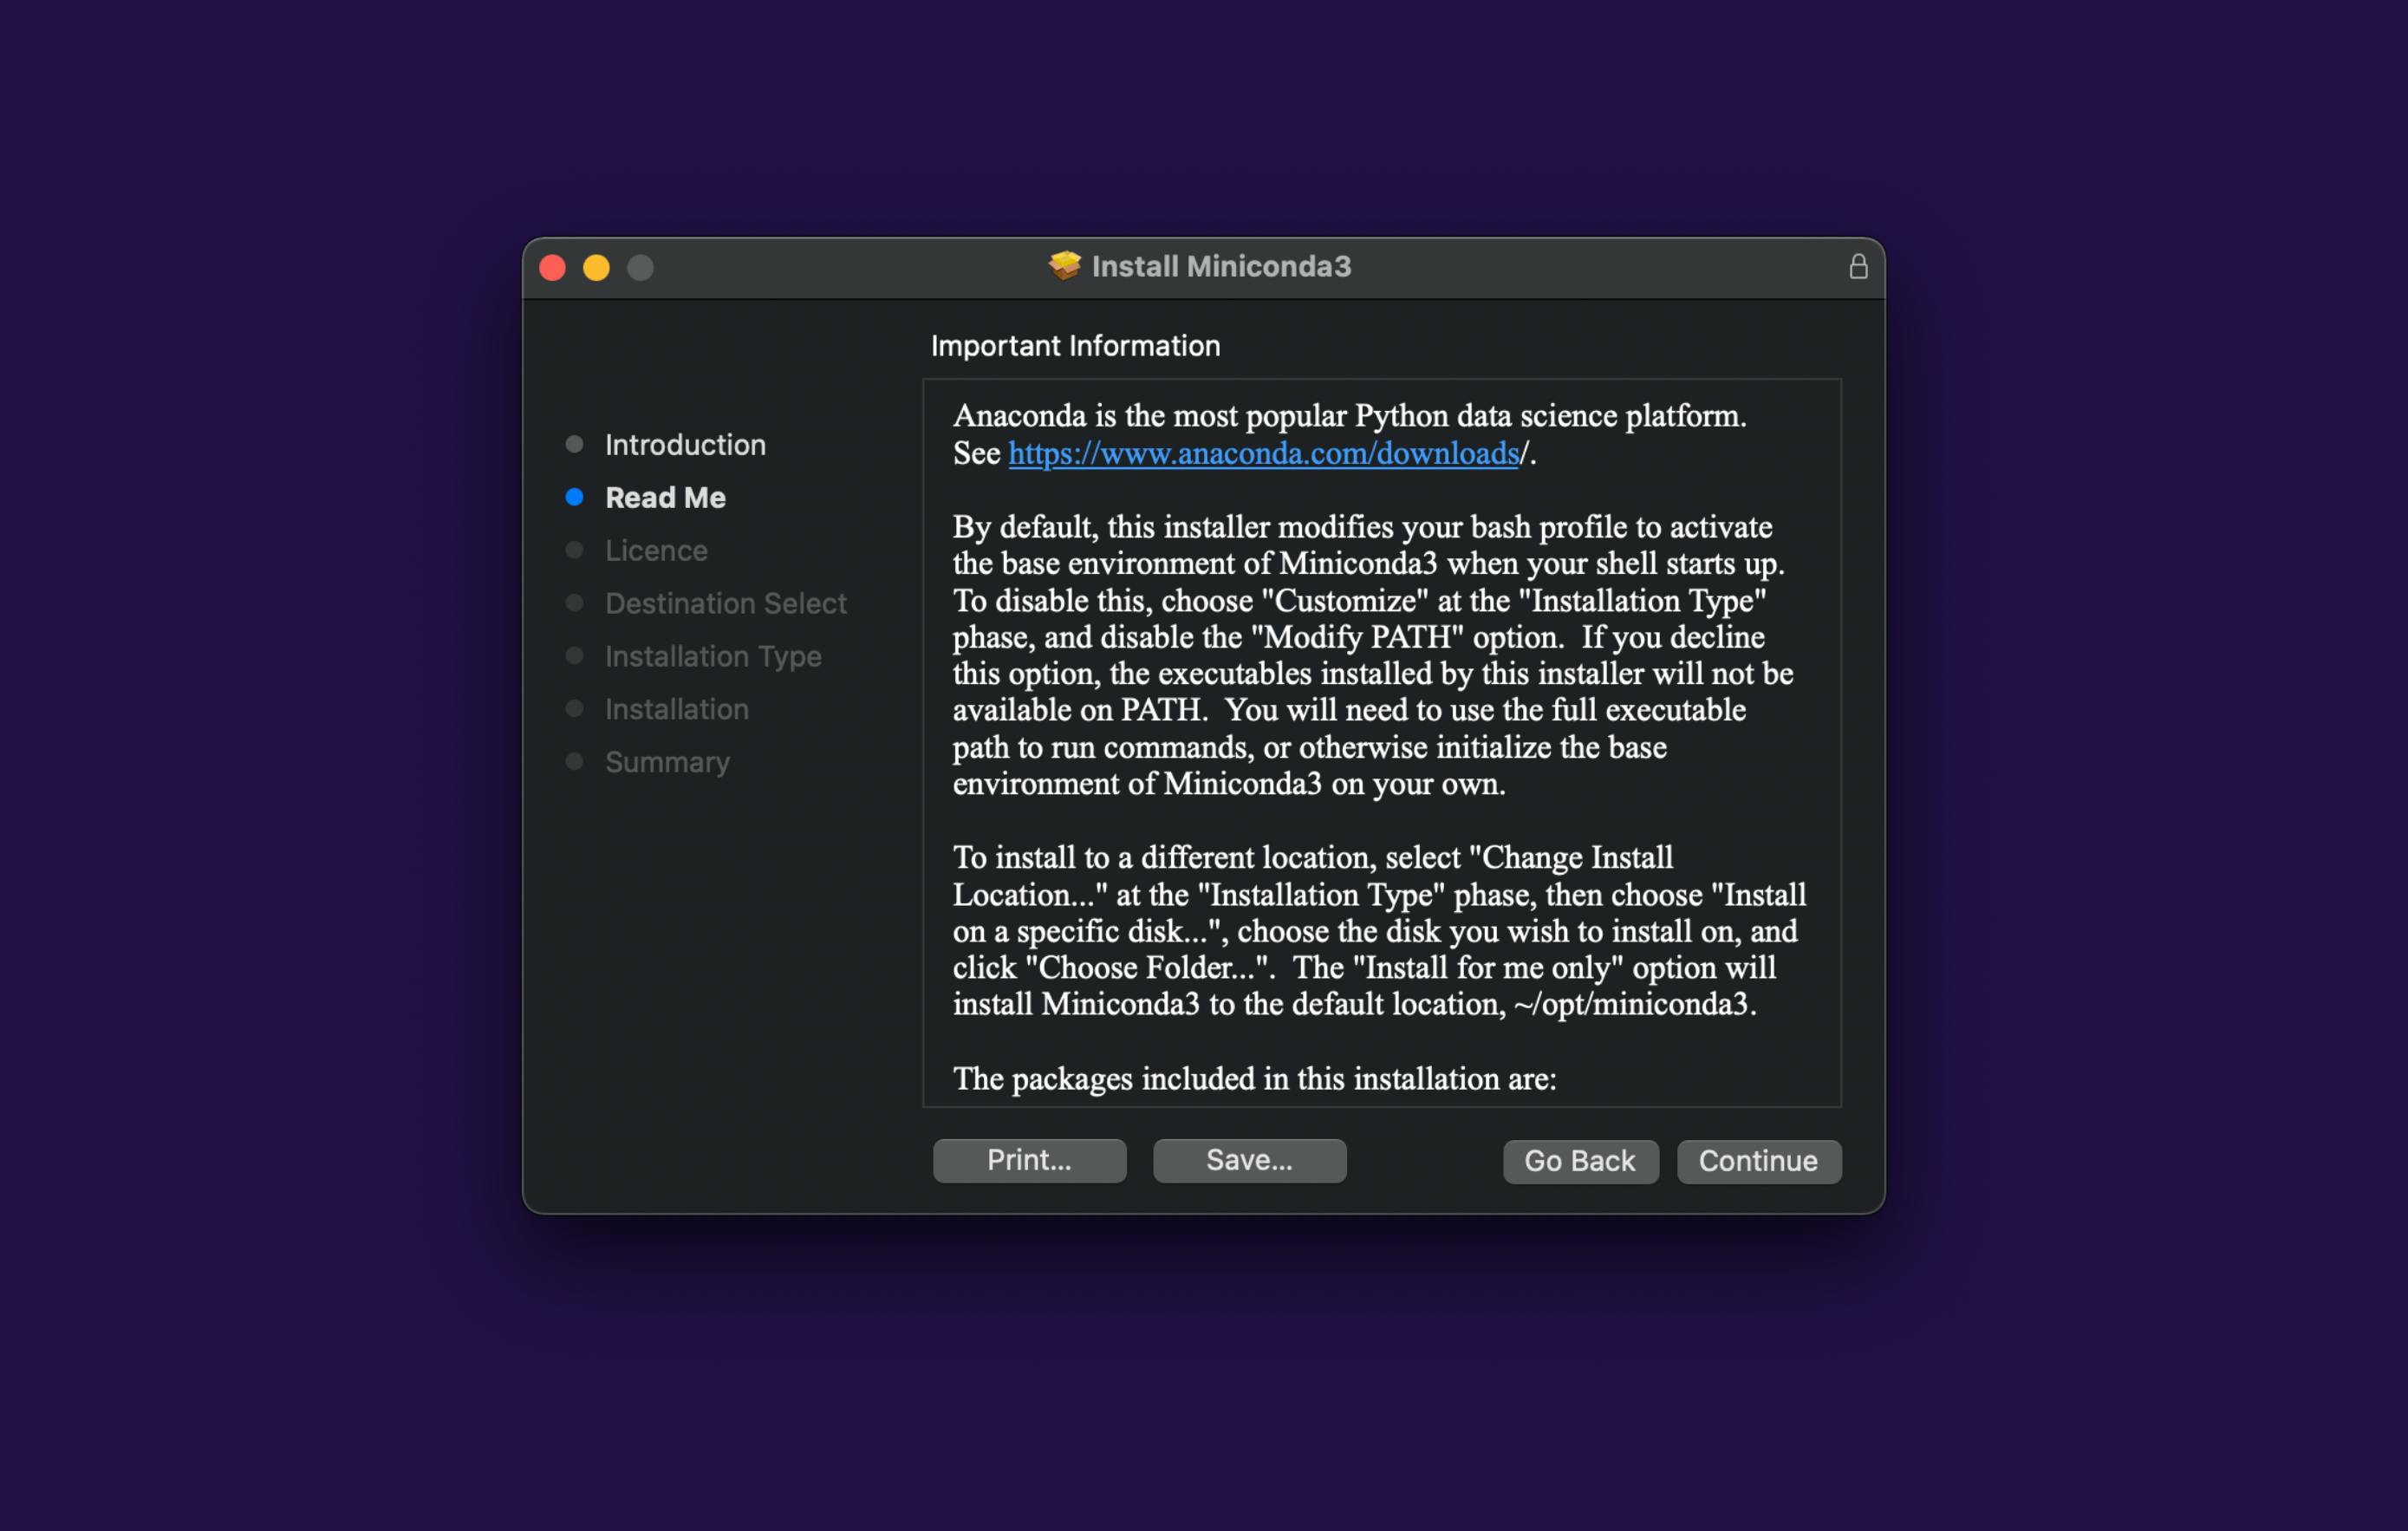
Just follow the installation instructions and accept the end-user agreement.
Creating Virtual Environment:
Create the virtual environment by executing the below command. Note: replace 3.6.12 with the Python version you want to install and replace env_name with your environment name.
conda create -n env_name python=3.6.12 anaconda
Enter y to proceed.
It may take some time depending upon your internet connection and system speed.
Activate the virtual environment using the following command.
conda activate env_name
Now you can install your project's requirements.
pip install -r requirements.txt
Bonus Tips - How to resolve libmagic import error on M1 Mac:
If you have libmagic in your project requirement and getting the ImportError like show below.
raise ImportError('failed to find libmagic. Check your installation')
ImportError: failed to find libmagic. Check your installation
It can be fixed by following the below steps.
- Install libmagic using the brew (/usr/local/bin/brew).
/usr/local/bin/brew install libmagic
OR Open terminal using Rosetta like shown above and run
brew install libmagic
Copy paste the below command and press Enter once the installation is completed.
sudo env ARCHFLAGS=”arch x86_64” gem install ruby-filemagic -- --with-magic-include=/usr/local/include --with-magic-lib=/usr/local/lib/
Thank you for reading.
Please share your feedback and suggestion. I would love to connect with you at LinkedIn.